

SNAP! Dry Erase Paint

The CLEAR 1-Step Choice for Writable Surfaces
SNAP! Dry Erase Paint creates a Dry Erase Writing Surface of any color. It is an easy to use, CLEAR coating paint that can be painted over Sherwin Williams Prep Rite Problock or PPG Seal Grip Interior/Exterior Acrylic Primer tinted to any desired color. There is no mixing of cans, and because SNAP! Dry Erase Paint is eco- friendly, it can be applied in areas that are currently in use. After an easy application, your white board is ready for use and your imagination can be unleashed.

SNAP! is a Clear Coating. Unlimited Color Palette: Base paint/primer is tinted as desired.
Single component paint (no mixing of two cans). 1 Quart = 200 sq. ft. coverage
Has little odor and a low VOC of 7. Can be applied in occupied settings.
Pot Life of 2 hours, with 1 hour of open time to touch up during installation.
Ready to use as a Writing Surface after only 5 days.
One Year Shelf Life. Unused product can go onto future projects.

SNAP! Dry Erase Paint Kit

- One quart of 1-Part Dry Erase Paint/Coating
- Two Custom 9-inch Rollers
- One Can Opener
- Detailed Installation Instructions
- Quick Installation Guide
- Wet Paint Sign
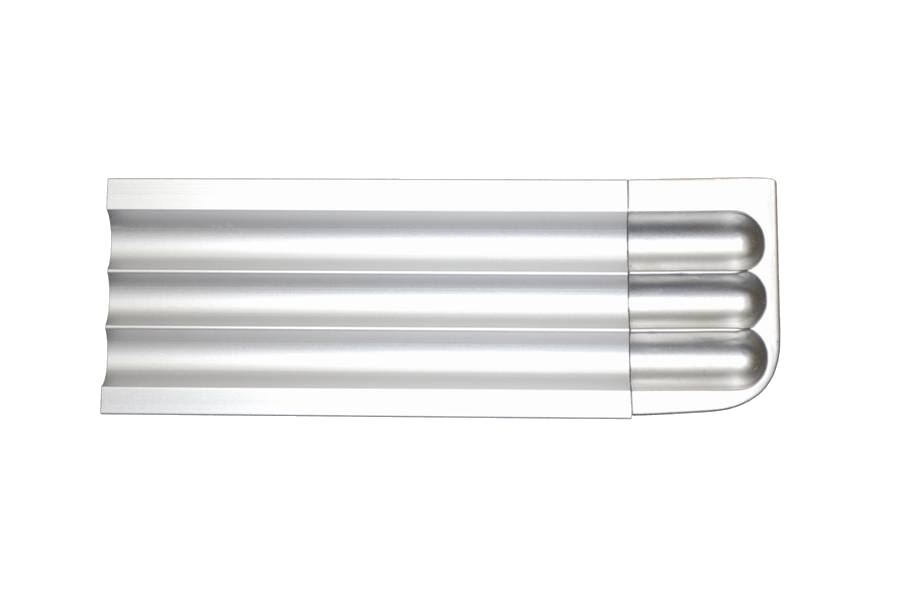
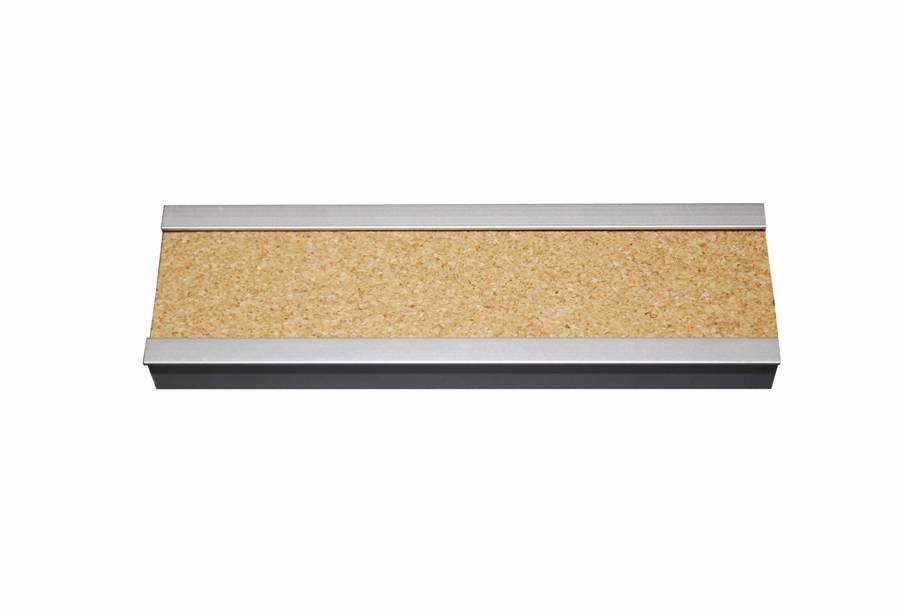
Accessories
Additional images and drawings are available by clicking on the Marker Tray, Cork Trim and Perimeter Trim.


INSTALLATION OF SNAP! DRY ERASE COATING
Surface Preparation
NEW CONSTRUCTION
New dry wall should be primed with two good coats of a high quality universal primer. Let primer coat cure 24 hours , then using only a 3/8” nap, shed -free roller apply a coat of SHERWIN WILLIAMS PREP RITE PROBLOCK or PPG SEAL GRIP Interior/Exterior Acrylic primer only, tinted to the desired color. To get the desired results do not use an alternate primer. Contractor assumes all responsibility if an alternate primer is used.
EXISTING PAINTED WALLS
Sand surface with 180 – 220 grit and patch where necessary. To avoid rag fibers on the surface, clean surface with a Microfiber cloth. Using only a 3/8” nap, shed-free roller apply a coat of SHERWIN WILLIAMS PREP RITE PRO BLOCK or PPG SEAL GRIP Interior/Exterior Acrylic primer only tinted to the desired color over the existing sanded paint surface. To get the desired results do not use an alternate primer. Contractor assumes all responsibility if an alternate primer is used.
Inspect the wall surface for any unwanted texture. If present, lightly sand surface with 180 - 220 grit to ensure it is as smooth as possible, then wipe clean using a MICRO DENIER CLOTH ONLY. The smoother and cleaner the wall surface, the more effective the writing surface will be.
Allow any newly primed wall to cure a minimum of 24 hours before applying the Dry Erase Coating. This is a must or coating will fail.
Application of SNAP!
ALWAYS STIR the Dry Erase Coating well prior to use as solids may settle to bottom of can. Pour the coating through the supplied strainer into the tray.
Only apply with the provided Foam Roller Cover. A plastic Tray Liner is highly recommended.
Step 1: Pour contents into painters’ tray with fresh clean liner, pouring the coating through the provided strainer.
Step 2: Use a vertical Up and Down coating method to spread one loaded roller cover approximately one and a half roller widths on a 9 ft wall. Must use slight pressure to empty the roller. Starting midway up the wall, move the roller up and down in a vertical pattern to cover about one and a half 9” roller widths by approximately 9 ft high. A uniform THIN coat is required. Do not OVER-APPLY the Coating.
Step 3: Reload the roller cover, and continue down the wall using the same up and down rolling method, being sure to keep a wet edge at all times. Continually inspect your work to ensure complete coverage and that a solid, level coating has been achieved. It is important to make multiple passes (without reloading the roller) to ensure uniform coverage and even distribution with no heavy spots, holes, or uneven texture left on the surface. Inspect carefully from all angles to ensure the entire surface is well-coated. Repeat process for additional sections. You have 30 minutes to go back if necessary,
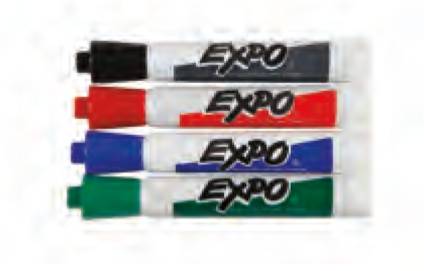
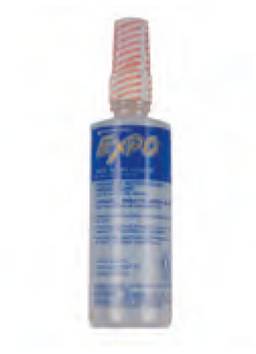
Step 4: Allow 5 days for product to cure before use as a writing surface. Recommend the use of EXPO BULLET Markers.
Clean-up and Disposal
Step 1: If saving coating from partially used can, it must be sealed completely AIRTIGHT to avoid product hardening in the can. Coating must be poured through strainer when reused. Otherwise, let unused coating harden in open container and dispose of in accordance with existing federal, state, and local environmental control laws.
Step 2: Discard all roller covers and tray liners. Do not pour unused coating down the sink or drain. Clean roller frames with standard paint thinner.
More Information
Ten Year Warranty
SNAP! Dry Erase Paint is warranted by the Manufacturer for 10 years from shipment date from not to crack or peel, to resist staining and yellowing, and not to permanently ghost when used with the proper dry erase markers, cleaners and when properly maintained per care and maintenance instructions provided.
